How to Use PU Foam Spray
Learning how to use PU Foam Spray properly ensures better insulation, strong adhesion, and lasting results. Whether you are sealing windows, insulating walls, or filling gaps, correct application makes all the difference. PU Foam Spray expands upon contact, forming a durable, airtight layer that blocks heat, air, and moisture.
In this guide, we explain how to prepare, apply, and finish your PU Foam Spray project like a professional.
For background information, see our PU Foam Spray in Kenya – Complete Guide to Uses, Benefits & Prices.
Step 1 – Surface Preparation
Before using PU Foam Spray, make sure the surface is clean, dry, and free of dust or oil.
Proper preparation ensures the foam bonds effectively and expands evenly.
If the surface is slightly damp, it actually helps the foam cure faster — moisture activates the expansion process.
In addition, cover nearby areas with masking tape or protective sheets to prevent accidental overspray.
Step 2 – Shake and Attach the Nozzle
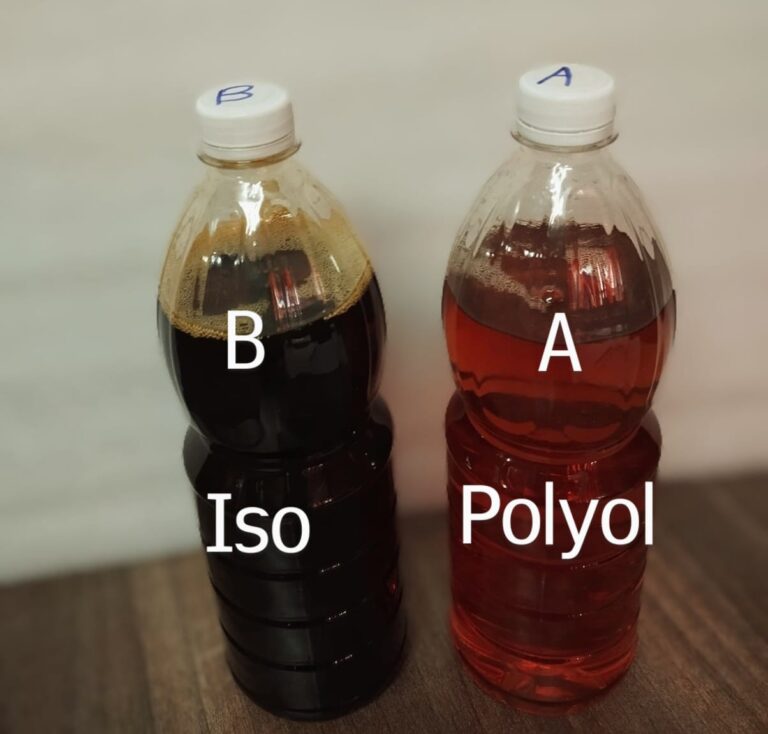
Vigorously shake the can for 30–60 seconds before use. This mixes the polyurethane components inside for a consistent texture.
Then, attach the plastic nozzle or professional foam gun securely to the valve.
Hold the can upside down during application — this position allows the liquid to flow properly.
Therefore, proper shaking and setup guarantee an even, steady foam output.
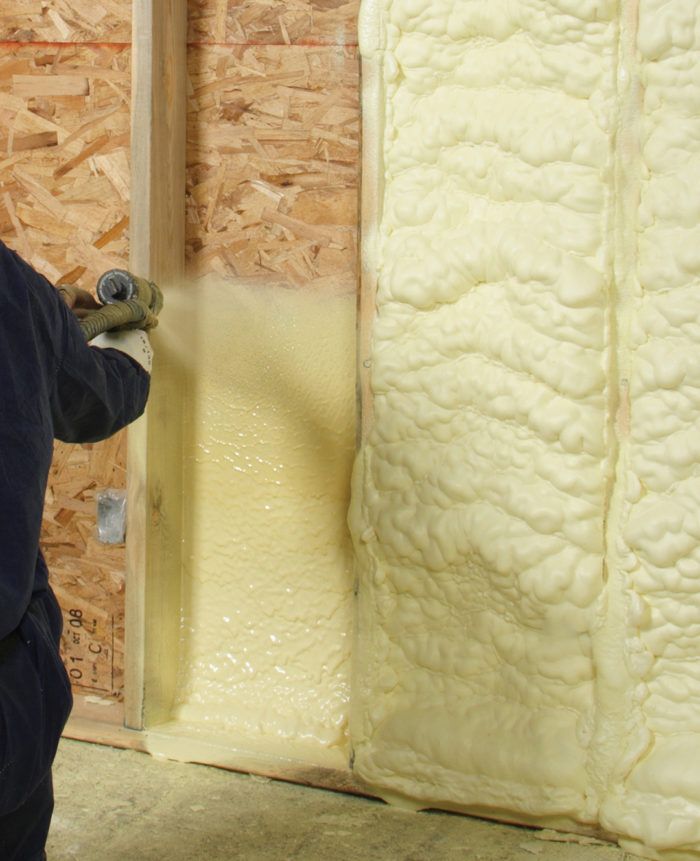
Step 3 – Apply the Foam Carefully
Start by filling gaps halfway, as the foam expands up to three times its original size.
Apply in layers for deeper spaces rather than forcing too much at once.
Move the nozzle slowly and steadily, keeping a consistent pressure.
For example, when sealing windows, apply the foam from bottom to top for better control and coverage
Step 4 – Allow the Foam to Cure
Once applied, the foam begins to expand and harden.
Allow it to cure for at least one hour, depending on humidity and temperature.
Avoid touching or trimming it during this period, as movement may weaken the bond.
As a result, the foam will form a dense, airtight seal that strengthens as it dries
Step 5 – Trim and Finish
After curing, use a utility knife to trim excess foam for a clean surface.
You can sand it lightly if needed, then paint or plaster over the area for a professional finish.
For exposed outdoor applications, apply a protective layer such as paint or sealant to prevent UV damage.
In conclusion, finishing properly improves both the durability and the appearance of your project.
Safety and Storage Tips
- Always wear gloves and eye protection when applying PU Foam Spray.
- Work in a well-ventilated area to avoid fumes during curing.
- Store the can upright in a cool, dry place and use within the expiry date.
- Never expose the can to direct sunlight or temperatures above 50°C.
Moreover, store half-used cans with the nozzle cleaned to reuse later without clogging.
Conclusion
Using PU Foam Spray correctly ensures maximum performance, strong adhesion, and long-term insulation benefits. Whether for home improvement or professional projects, the technique you use determines the outcome.
For high-quality foam and expert guidance, order from Bioflex Insulation Ltd – PU Foam Spray in Kenya or contact our team for supply and installation services across Kenya and East Africa.
You can also read: What Is PU Foam Spray Used For?
According to the International Association of Polyurethane Manufacturers, proper polyurethane application improves insulation efficiency by up to 40%.